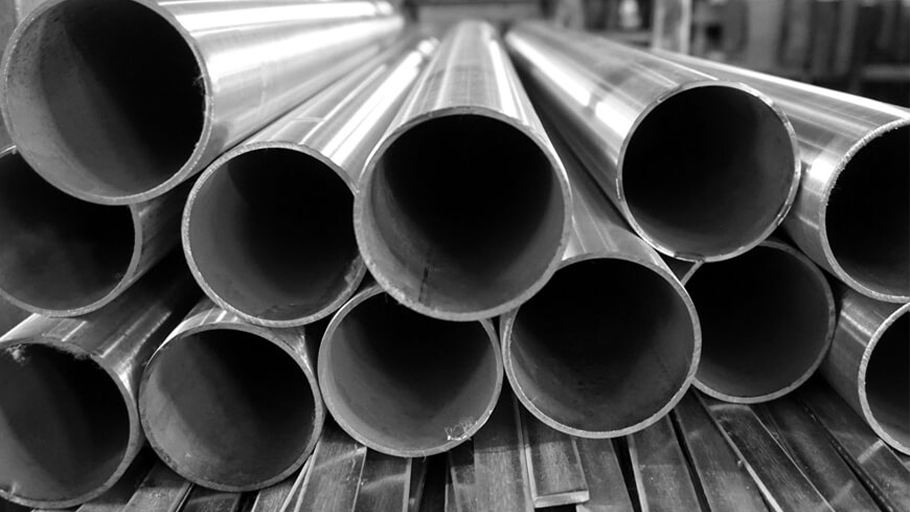
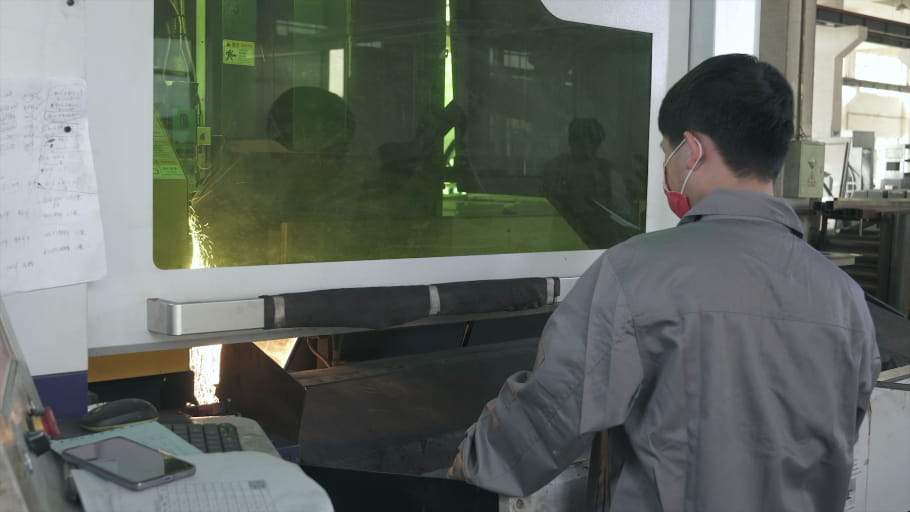
A critical step in qualifying metal parts using a non-destructive approach
Hardness testing is a quality test used in foundries to measure the properties of cast metals and their suitability for different applications. Its popularity is due to the non-destructive nature of the test, and its relationship with other mechanical properties. Foundries infer the tensile stress of a material based on the hardness test result.
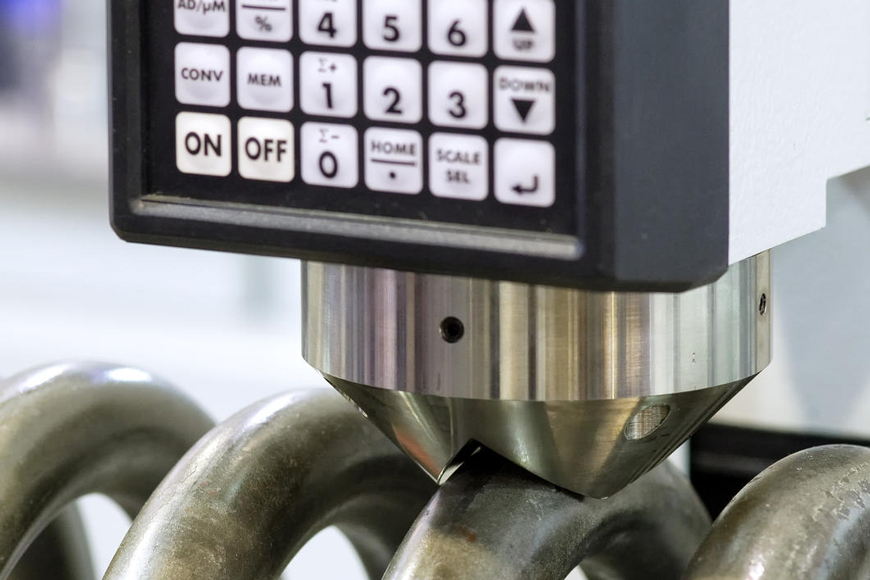
Properties of cast metals vary according to the composition of the metal, process conditions, and heat treatment. It is important to certify cast metal products as being suitable for the desired final application. Four main categories of properties are important for cast metal users:
- Strength
- Impact
- Hardness
- Corrosion resistance
Foundries will sometimes cast a test coupon alongside the product casting. Quality test results from the test coupon are assumed to be true of the cast product as well. Some tests—such as tensile stress and impact—destroy the test piece in the process. However, non-destructive tests (NDT) do not destroy the metal sample to obtain a result. The advantage of NDT is that tests can be conducted on the cast metal product itself, as opposed to a test piece.
Benefits of hardness tests:
- Ability to verify the heat treatment of a part in heat-treating operations and case depth analysis
- Ability to determine if a material has the necessary properties for its intended use
- Non-destructive test alternative for effectively qualifying and releasing material or components for target applications
- Low cost and quick performance
What is a hardness test?
The term, hardness, typically implies a resistance to deformation. For metals, the property is a measure of their resistance to permanent, or plastic, deformation. Several different tests exist for measuring the hardness of metals and cast metals.

Brinell hardness test
The Brinell hardness test uses method ASTM E10—Standard Test Method for Brinell Hardness of Metallic Materials. The American Society for Testing and Measurement (ASTM) is the custodian of this standard. It is a macro indentation test where a high load is used to obtain the measurement. Cast metals require macro hardness tests due to the course grain structure and the potential for an inhomogeneous material.
To obtain a Brinell hardness number (BHN), a carbide ball of fixed diameter presses into the metal at a fixed pressure for a set time. On removal of the load, the operator measures the diameter of the indentation left behind and converts it into the BHN using the following formula:
\(BHN = \frac{2P}{\pi D(D – \sqrt{D^2-d^2})}\)P = applied force (kgf)
D = diameter of indenter (mm)
d = diameter of indentation (mm)
In the United States, test loads for steel and iron are typically set at a maximum of 3000kgf with a 10mm ball. Aluminium uses a lower test load of 500kgf, and sometimes a smaller indenter of 5mm. A typical BHN ranges from 50–750 for metals. The Engineering Toolbox Brinell Hardness table below lists a few examples of BHN:
MATERIAL
BRINELL HARDNESS NUMBER
Soft brass
60
Mild steel
130
Annealed chisel steel
235
White cast iron
415
Nitrided surface
750
Preparation of the metal surface for Brinell hardness testing is very important. A jagged surface or other imperfections will influence the result. It is advisable to grind the metal surface in preparation for the test to minimise variability in the results.
The origins of the Brinell hardness test stretch back to 1900. In the early years of the test, the results were strongly influenced by the perspective of the operator. Different operators would come up with different results leading to high variability in measurement. However, with the introduction of electronic measuring equipment, the level of consistency has significantly improved.
Rockwell hardness test
The Rockwell hardness test uses method ASTM E18—Standard Test Methods for Rockwell Hardness of Metallic Materials. The Rockwell test has two stages. The equipment applies a preliminary test force to the sample using a diamond or ball indenter. The purpose of this stage is to break through the surface of the metal and reduce the effect of surface finish on the final result. The operator measures a baseline indentation depth at this point. After holding the preload for a set time, a major load is then applied. Again, the force is held for a pre-set time, before reducing it to the preload force again. Once the time has elapsed, the operator takes a depth measurement of the indentation. The Rockwell hardness number is based on the difference between the baseline and final depth measurements.
It is important for the accuracy of the Rockwell test for the test axis to be within two degrees of perpendicular. A Rockwell hardness scale accompanies the test.
\(\text{RHN} = N – \left(\frac{h}{S}\right)
\)
N = constant
S = scale unit
h = indentation depth
Leeb rebound hardness test
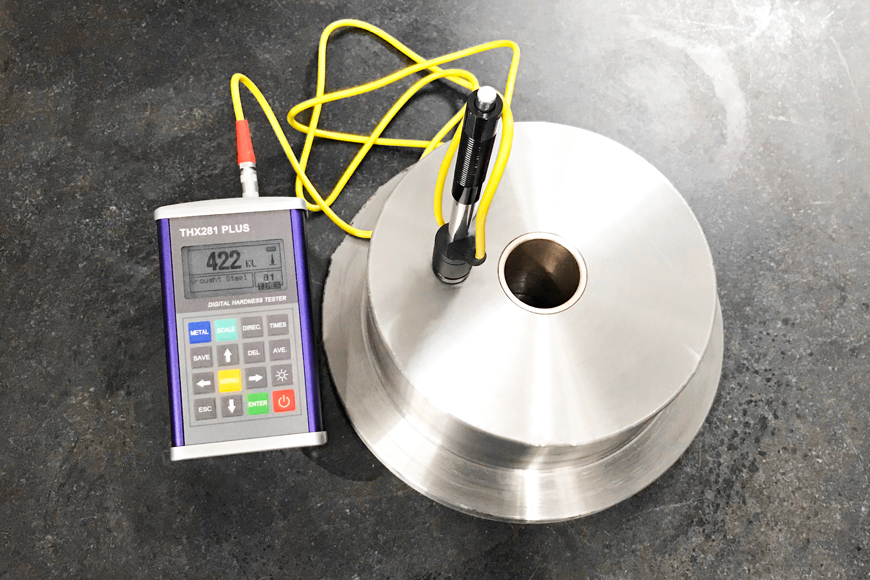
The Leeb test uses ASTM A956—Standard Test Method for Leeb Hardness Testing of Steel Products. The Leeb test is a measure of the rebound of an object from the test sample. The hardness of metals affects the rebound energy—harder materials produce a greater rebound, while softer materials dampen the rebound energy. The velocity of the object, before and after it strikes the sample, forms the basis for the rebound value. Leeb test equipment contains a coil, which measures the induced voltage of the magnetic ball used for the rebound test. This induced voltage is directly related to the velocity of the ball moving through the coil of the test equipment. The Leeb hardness value is calculated using the following formula:
\(\text{LHN} = \frac{\text{Rebound Velocity}}{\text{Impact Velocity}} \times 1000
\)
Advantages to the Leeb method include the fact that the indentation left on the test sample is much smaller than with other methods. It is also portable, easier to use, and quicker than the Brinell and Rockwell hardness testers. A disadvantage is that it may yield variable results where the sample surface is uneven. The thickness of the sample, and carbon content, may influence the result as well.
Hardness number conversion
ASTM E140-12be1 gives standard hardness conversion tables for metals to convert from one hardness test method to another. It is important to note that these conversions are approximate and depend on factors such as material composition, microstructure, and heat treatment. Although the tables are based on large numbers of tests across the different methods, a conversion result can only be considered as an estimate of comparable values.
Hardness number and heat treatment
Cast metals are heat treated to manipulate their properties. Heat treatment involves raising the temperature of the material to a predetermined value. It is then cooled at a specific rate depending on the desired properties of the product. The final temperature of the heating cycle and the rate of cooling have a direct impact on the microstructure of the metal.
Fine pearlite and ferrite microstructures caused by a faster cooling rate have a greater hardness value. If the metal is quenched, the rapid cooling results in a martensite microstructure, which has the greatest hardness of all. Because of the direct relationship between microstructure and hardness, the hardness test is a quick indicator of whether the heat treatment has been successful or not.
Hardness number and cast metal properties
Tables show how tensile strength correlates to hardness for specific materials. This is a useful correlation because measuring tensile stress is a destructive process, whereas hardness tests are non-destructive. However, there are limitations to the conversion from hardness to tensile strength and these tables are only approximations.
The relationship between Brinell hardness number and tensile stress:
\(\text{TS (MPa)} = \begin{cases} 3.55 \cdot \text{HB } (\text{HB} \leq 175) \\ 3.38 \cdot \text{HB } (\text{HB} > 175) \end{cases}
\) \(
\text{TS (psi)} = \begin{cases} 515 \cdot \text{HB } (\text{HB} \leq 175) \\ 490 \cdot \text{HB } (\text{HB} > 175) \end{cases}
\)
HB = Brinell hardness of material (measured with a standard indenter and a 3000kgf load)
Cast products and grading
Many factors affect the grading of cast steel. Composition of the product, chemical and mechanical properties, and heat treatment processes all play a role in the certification of each cast product against the applicable ASTM standard.
ASTM sets standard specifications for different grades of metal products. It is important to understand these grades and their properties in order to select the correct grade for each application. ASTM A27 is a standard that covers carbon steel castings for general applications.
Hardness testing in foundries
The development of the hardness test has made it easier for metal foundries to estimate the properties of their products based on one simple test. It is non-destructive, which means it can be carried out on finished products without causing damage. It is a quick process, giving foundries rapid feedback about the products as they leave the production line. The correlation between hardness number and tensile strength is a useful guide to make an initial assessment of product grade. Foundries complete a full set of certification tests prior to releasing products to customers.


