Steps to support rust-resistance
Stainless steel contains carbon, iron, and chromium. This chemistry, along with polishing and passivation steps in manufacturing, encourages the alloy to develop a chromium oxide layer. This layer is what gives the metal its prized rust resistance. Yet chromium oxide is itself a product of corrosion, a quick-forming “passive film” created when chromium reacts with air. This thin film seals the metal, forming a barrier between slower-reacting, rust-forming iron and the environment. In many situations, an abrasion to the chromium oxide layer is self-healing. New exposed stainless simply forms chromium oxide again.
However, this rust-defeating process is reliant on chemistry: if the molecules at the surface of stainless steel are out of balance, they will prevent the passive layer from developing. Steel is steel. Without a protective coating, rust will set in. Maintaining the chemistry at the surface of the stainless steel is therefore necessary to maintain a rust-resisting finish. Fortunately, the maintenance costs for stainless steel are usually low.
Things that will rust stainless steel
Our installation and maintenance guides provide an overall view of what must be done to help prevent rust from taking hold in our 316 stainless steel—a grade of stainless with corrosion resistance for outdoor environments. These steps are designed to protect attack of the passive film.
Several types of attack may occur against the passive film.
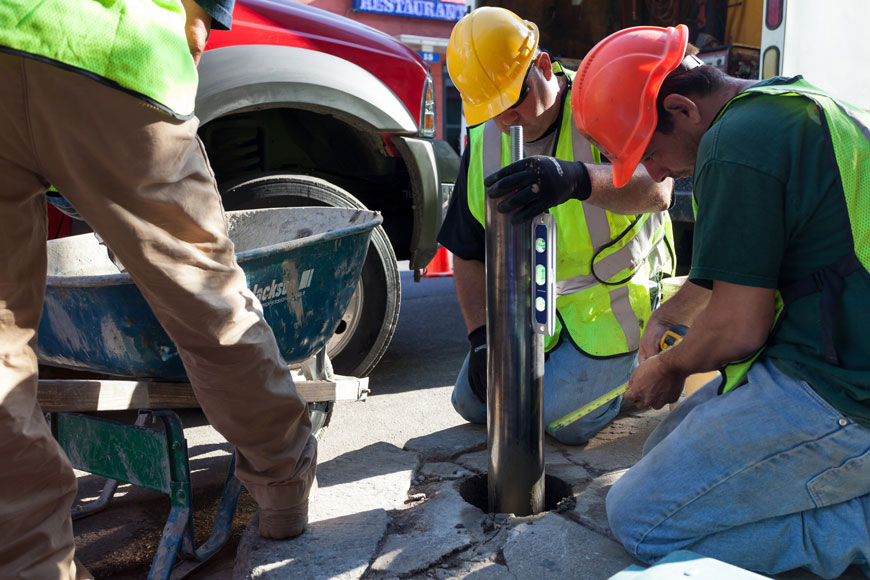
- Improper installation Rust can start on stainless steel when it is installed with (non-stainless) steel or iron tools that scratch or bite the surface. Ferrous particles from the tools can stick to the surface of the steel and prevent the chromium oxide layer from re-forming when disrupted. The iron particles dilute the chromium content in that spot. For passivation, chromium must represent 10.5-12% of the alloy. Good stainless steel has a distribution of chromium throughout the material, but mishandling can cause this chromium to go out of balance at the surface. A few rusty ferric particles left deposited on the stainless change the percentage chromium and break the passive film. Once it is broken, corrosion might spread from the site of the damage. Installation damage often appears as distinct tool mark a few days after the stainless steel has been placed. Even if a screwdriver-tip scratch seemed very minor and almost invisible on installation day, it can become red and obvious in a few days’ time. After installing with steel or iron, therefore, it’s good to give stainless steel a good cleaning.
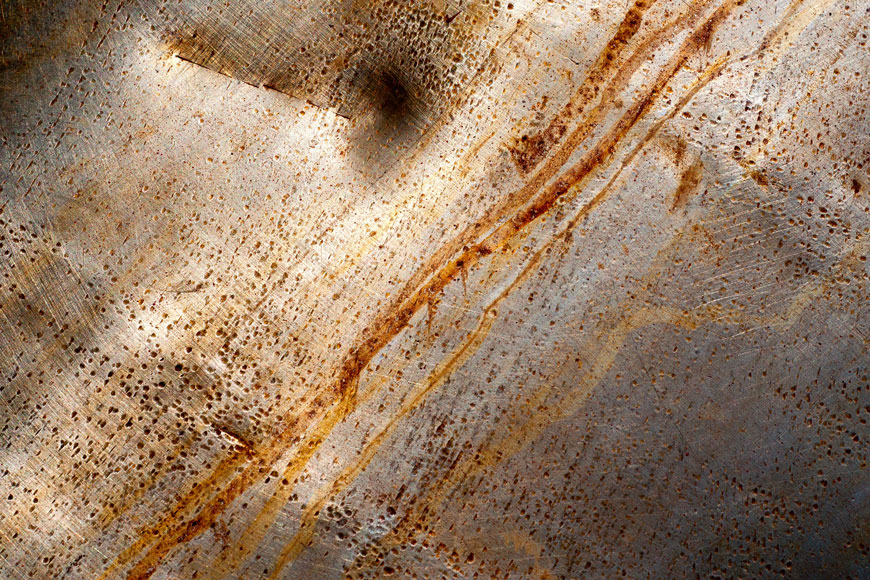
- Other iron deposits Impact with steel or iron objects can also leave ferritic deposits behind. Carts, cars, and other steel and iron objects can make small bumps and abrasions the site of new corrosion. Welding or grinding steel near stainless is another way that iron debris gets thrown onto stainless. Being in the same room as machined steel can cause corrosive deposits of iron on a stainless surface.
- Salt, acids, and de-icing chemicals Chemicals other than iron can create a reaction and defeat the passive layer. Salts and acids are damaging to the formation and maintenance of chromium oxide.
- Structural damage When a piece of stainless is cracked or dented, it can create a space that traps stagnant liquid. If water, especially salty water, gets into that crack, it can cause a process called crevice corrosion to start. The two parts of stainless steel with liquid trapped between can corrode enough to cause a structural problem within the steel. Pitting corrosion is another form of accelerated damage. It often starts with salt in the environment that goes unaddressed, leading to small pits of damage into the metal. These pits can often trap more chloride and, like crevice corrosion, lead to the accelerated non-surface weakening of the steel. With cleaning and care, small pits are usually able to re-passivate.
- Galvanic corrosion When metals with dissimilar electric potentials are placed next to one another in an electrolyte bath, there is an electrochemical reaction. One metal becomes an anode and another a cathode, and an electrical current passes between them. Electrons are stripped from the active, or anodic metal, and accumulate on the passive, or cathodic, one. The anodic metal corrodes. Problems of galvanic corrosion are often seen with aluminum and stainless steel, especially in wet, salty environments. In these installations, aluminum is the anode. Over time, the presence of stainless will weaken the aluminum. Therefore, it’s inadvisable to install aluminum pieces with stainless steel screws without taking some precautions (like adding an insulating washer). Stainless steel sometimes becomes an anode in the presence of graphite. Graphite is a conducting non-metal cathodic to stainless steel. Graphite gaskets are not recommended for stainless installations. The damage with galvanic corrosion can cause overall metal stress.
Maintenance costs and procedures
Stainless steel does need to be taken care of, but most of the upkeep is quick, simple, and inexpensive.
We recommend a minimum biannual maintenance schedule. In ideal or indoor conditions, without a lot of debris, chemicals, or damage, this is more than enough to prevent deep corrosion from setting in. However, other schedules may be recommended for harsh environments or sites that prefer gleaming stainless year round.
Routine surface care starts with a quick water rinse to remove grit. When there is no abrasive left on the surface, the stainless steel should be wiped with a lubricant like WD-40 or a specialized domestic stainless steel cleaner. A visual inspection for staining during this procedure is recommended.
For our stainless steel bollards, this routine care usually takes less than three minutes per post. If there are issues noted, from splashed concrete to graffiti, usually simple and relatively inexpensive steps are needed to address them. Our cleaning and care blog and care and maintenance document offer advice on dealing with unusual issues.
Accelerated maintenance schedules for outdoor stainless steel
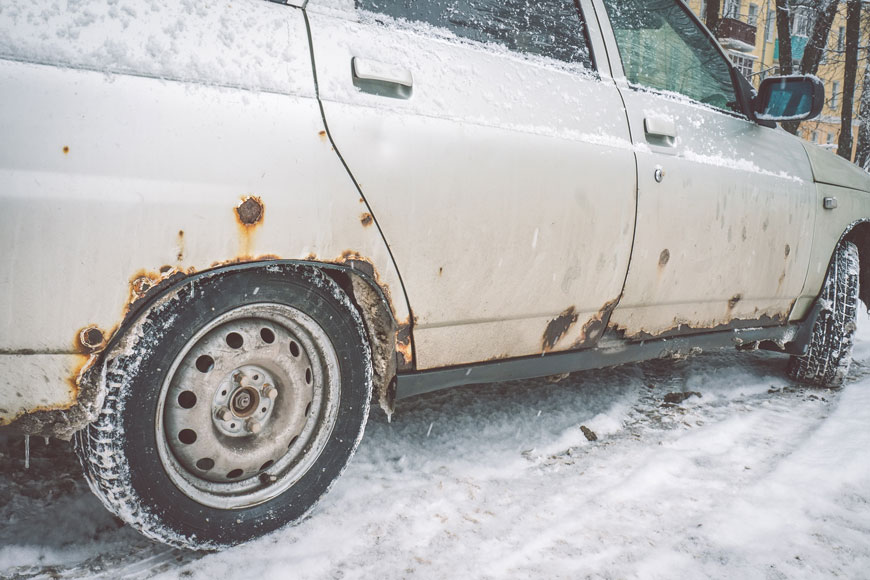
To consider the stresses in a region on outdoor stainless steel, look around at the cars. In places where many cars show rust, there is more environmental stress, including salt, weather, and even iron deposits from those same rusting cars. Maintenance schedules should be more comprehensive in these locations, being held quarterly.
In some locations, sporadic salting offers a different way to keep a winter maintenance schedule. Whenever there is a salt deposit visible on cars, there is likely salt building up on the surface of traffic-adjacent stainless steel. Giving stainless a simple rinse and then a wipe with WD-40 when most cars around the installation could also use a good wash can help keep stainless steel shining.
Fixing damage and removing corrosion on outdoor stainless steel
In some locations, a winter’s worth of un-removed salt deposit leaves a very light stain speckled over the surface of stainless steel. This sort of mild corrosion can be removed and the surface repassivated simply, with the application of inexpensive but specialized cleaners.
Before
After
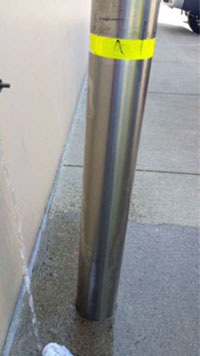
The procedure is simple:
- Identify surface that needs cleaning and rinse grit off before starting
- Spray with E-NOX CLEAN (or similar)
- Spread evenly over stained surface
- Leave for one hour
- Spray on neutralizer: UNO-SF (or similar)
- Wipe with paper towel
- Rinse with water
Maintenance routines and aesthetic preference
Stainless steel provides a stable, corrosion-resistant metal with a light silver gleam that complements many modern architectural buildings. When used outdoors, the shine of the metal may be an essential element of the look of a site. In these cases, maintenance tends to need to be more rigorous. Fingerprints, scuffs, and the dust of street life all diminish the sheen of stainless. For most locations, however, careful installation and biannual or quarterly maintenance will be enough to keep quality 316 stainless steel providing an elegant site accent for many years.
