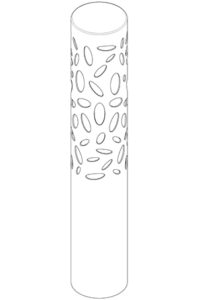
Installing AC Light Bollards using Drop-In Inserts
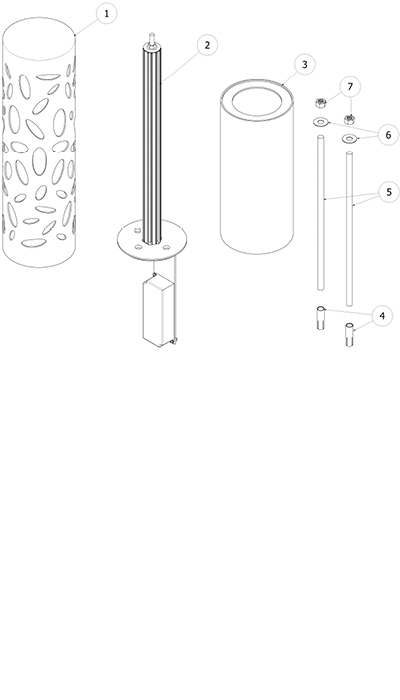
PARTS LIST
|
# |
PART |
QTY |
|---|---|---|
|
1 |
Decorative Cap with Lens |
1 |
|
2 |
LED Tower |
1 |
|
3 |
Base |
1 |
|
4 |
Concrete Inserts |
2 |
|
5 |
Threaded Rods |
2 |
|
6 |
Stainless Steel Washers |
2 |
|
7 |
Stainless Steel Nuts |
2 |
|
8 |
Waterproof Electrical Connector (not included) |
1 |
INSTALLATION EQUIPMENT
|
Broom |
Chalk |
|
Level |
Vacuum |
|
Measuring Tape |
|
|
Hammer Drill or Rotary Hammer with 5/8" Masonry Drill Bit |
|
|
Insert Setting Tool for ½" Concrete Anchors |
|
|
Threadlocker |
Hammer Drill |
NOTE
- Always ensure any applicable site and safety codes have been followed.
- Electrical products should always be installed by a qualified individual.
- Ensure the power supply is protected by a breaker. Reliance Foundry recommends use of a surge protector.
- To protect the finish, keep bollards in original packaging until the moment of installation.
- Handle with care to avoid scratching or damaging bollard surfaces.
Before installation
Check for hazards
Always check for hazards such as water pipes, gas lines, and underground wiring before drilling. All applicable site and safety codes should be followed.
Clean the surface
Dirt and debris can affect the line of sight and disrupt placement of the bollards.
Use a broom or pressure washer to clean the concrete surface prior to installation.
Study the site plans
Site plans are generally created by the architect of the project.
Refer to site plans to locate and mark precise center points of each bollard. Ensure sure that the electrical conduit with the site connection point is positioned underneath the bollard.
For secure installation, ensure there is a minimum radius of solid concrete around each mark.
Designate your hole marking
Use the hole template and chalk to mark the install points for each concrete insert (or measure two marks 3 ½" apart centered on the bollard center-point. That is, each install mark will be 1 ¾" from the center of the bollard).

Drill the Holes
Create pilot holes
Tap pilot divot holes in the center of each mark.
This will prevent the hammer drill or rotary hammer from drifting while boring the holes.
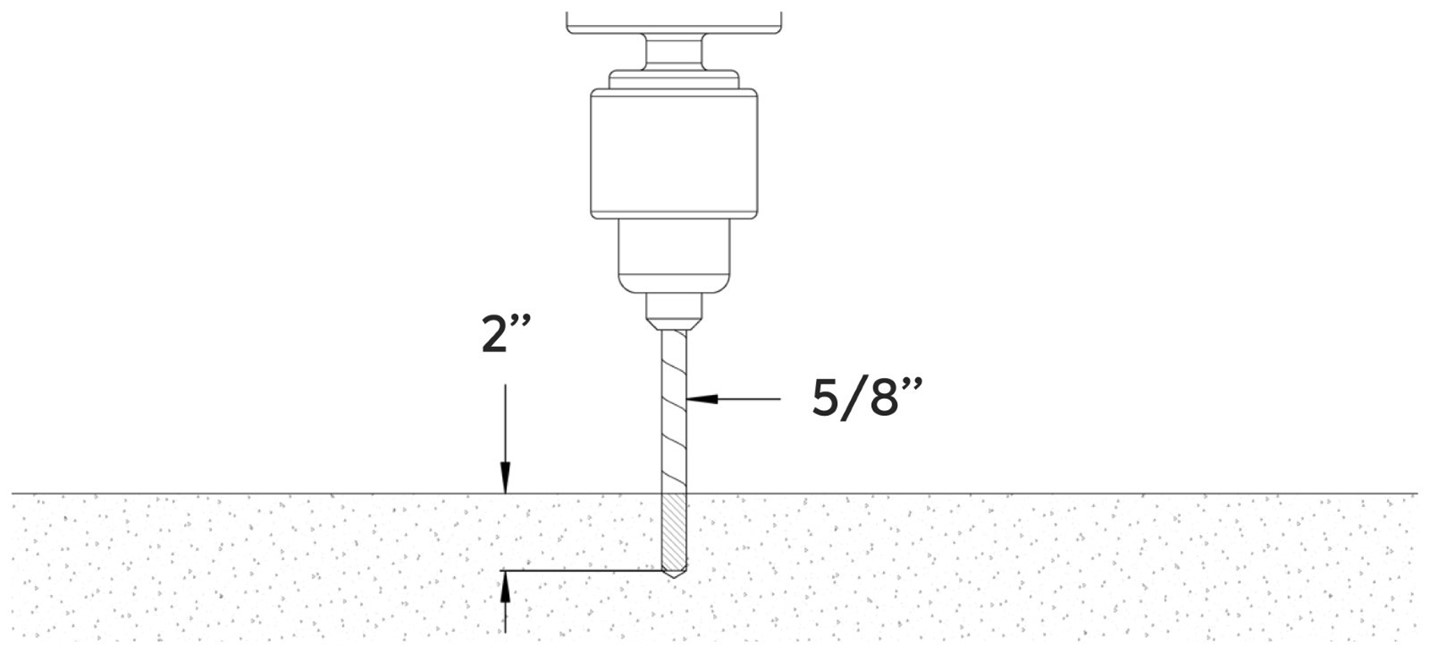
Drill the Holes
Using a 5/8" Masonry Bit, drill holes 2" deep.
Drill on high speed, using the hammer function if available.
Check the masonry bit often to ensure it remains debris-free.
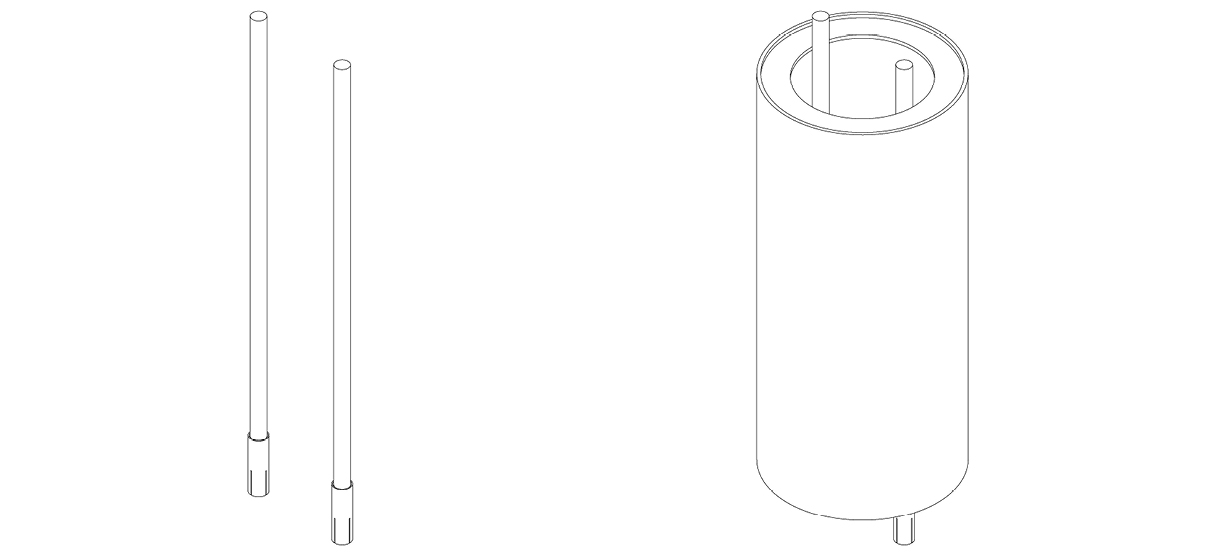
Prepare the Inserts
Clear and clean the holes
Clear the holes of all debris and/or standing water using the vacuum.
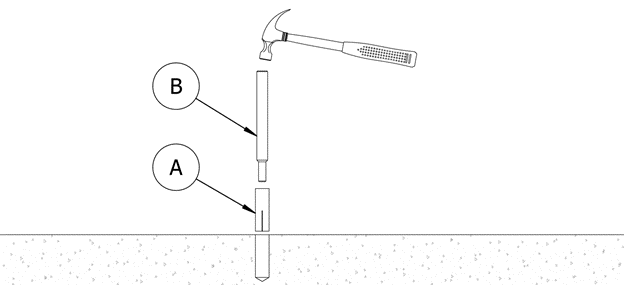
Tap the drop-in insert into each hole
With the slotted end facing down, drive the drop-in insert (A) down until the top of the drop-in insert sits flush with the surface of the concrete.
Set the concrete insert
Insert a setting tool (B) into each hole, then hammer down.
If a proper setting tool is not available, an equivalent flat-end punch can be used.
This will cause the internal expansion plug to set the concrete insert in place.
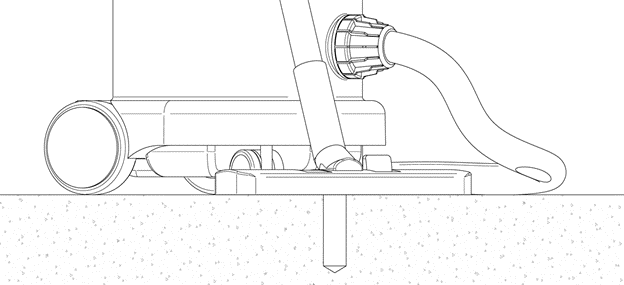
Place Bollard Base
Install the two threaded rods into the concrete inserts, and place the base overtop the rods.
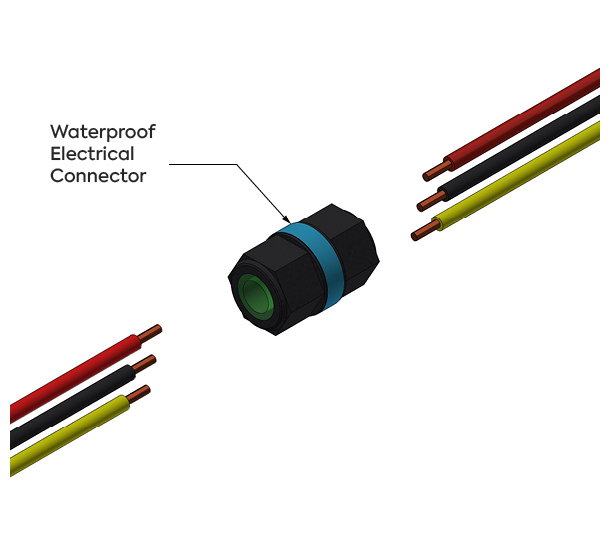
Electrical Connection
Before doing any electrical work, ensure the power supply has been shut off. Electrical connection should only be done by qualified professionals.
Pull the site connection through the base, and connect the input at the base of the LED tower to the grid using your preferred waterproof connector. Insert ground (yellow), neutral (black), and positive (red) wires into the connector, matching the wire colors from the conduit to the bollard.
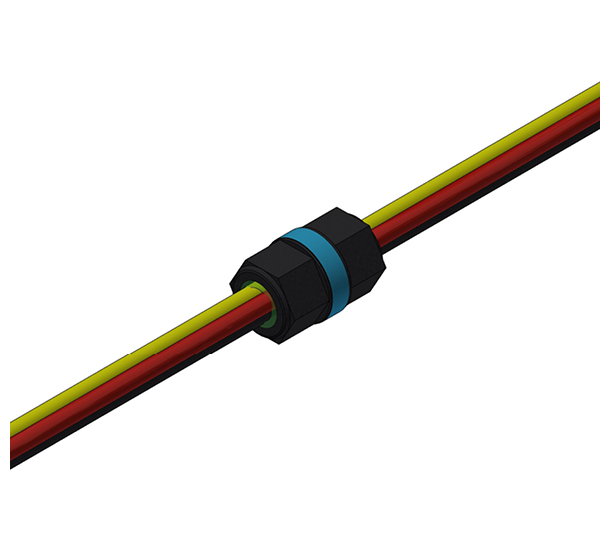
Leave excess wire such that it will stay inside the base.
Install the LED assembly
Place the LED assembly on top of the base. The threaded rods should be inserted through the holes in the assembly. Install using stainless steel washers and nuts.
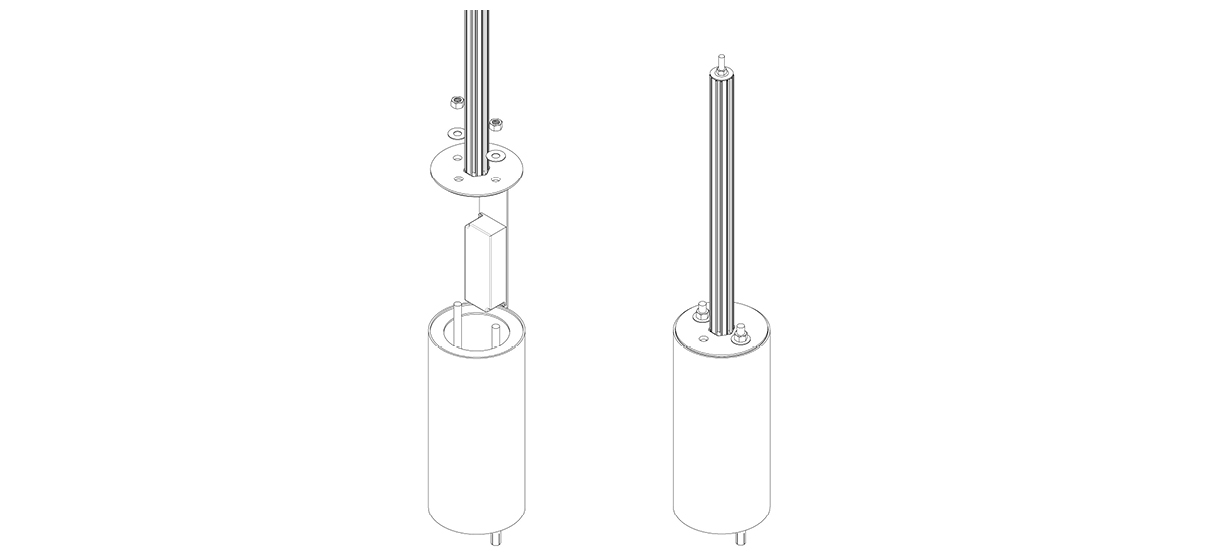
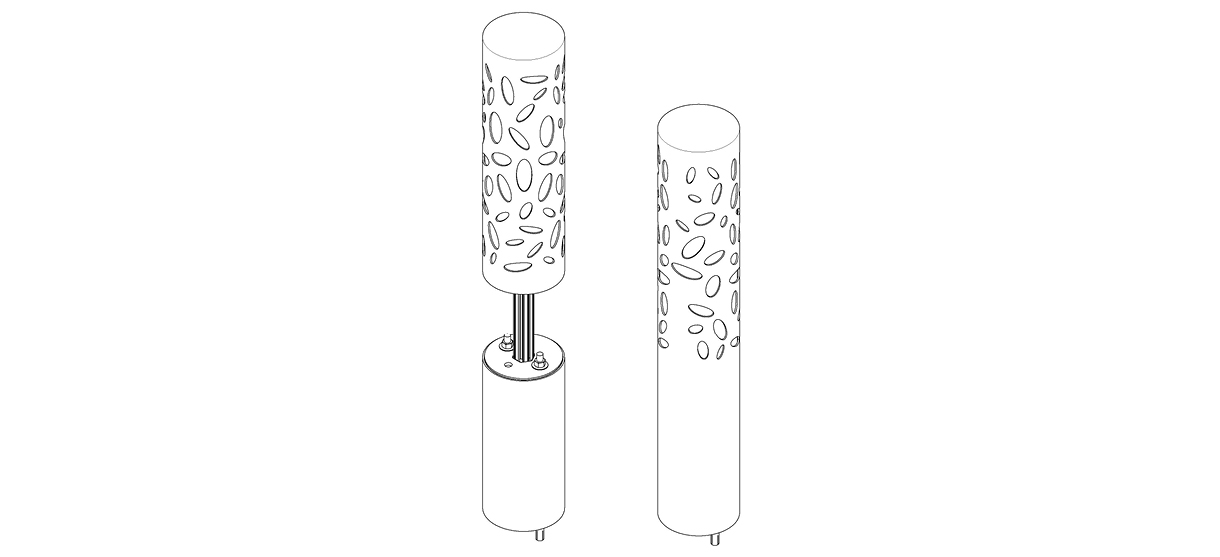
Install the Decorative Cap
Cover the top of the threaded rod of the LED assembly with a threadlocker such as Loctite Blue 242 or equivalent.
Place the decorative cap over top of the base and LED assembly, and carefully insert the threaded top of the LED assembly into the welded nut on the inside of the cap. Slowly spin the cap clockwise until tight. Minor adjustments may need to be made to ensure proper alignment.
Inspect
Inspect the installation
From a distance, examine the plane of view.
Ensure the bollard is plumb.
Check the bollard for any signs of surface damage
Abrasions should be covered as soon as possible to prevent rust and ensure the proper life of the bollard. For damage repair or other servicing needs, please contact Reliance Foundry’s sales department.
Care and maintenance
Reliance Foundry manufactures its products to the highest design standards to ensure their durability. In most North American environments, routine inspections and cleaning will ensure that bollards retain their aesthetic appeal. Proper care and maintenance are required to maintain the finish and ensure a full service life.