Installing the R-7512 T-Head Mooring Bollard with Epoxy Resin
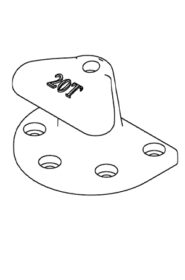
The R-7512 T-Head Mooring Bollard is a specially-designed marine bollard for carrying wire ropes. The bollard has a “T” shaped top, a simple and efficient shape for securing marine vessels to a wharf, and is suitable for steeper rope angles.
The T-Head Mooring Bollard has two mounting options: it can be surface mounted, or recess mounted. Recess mounting is generally recognized as superior, as recessing the base prevents the bolts from working loose. In either case, the bollard is fixed with anchors—either cast-in or using epoxy and resin.
For an epoxy or resin installation, use an appropriate high strength epoxy or resin as determined by a site engineer.
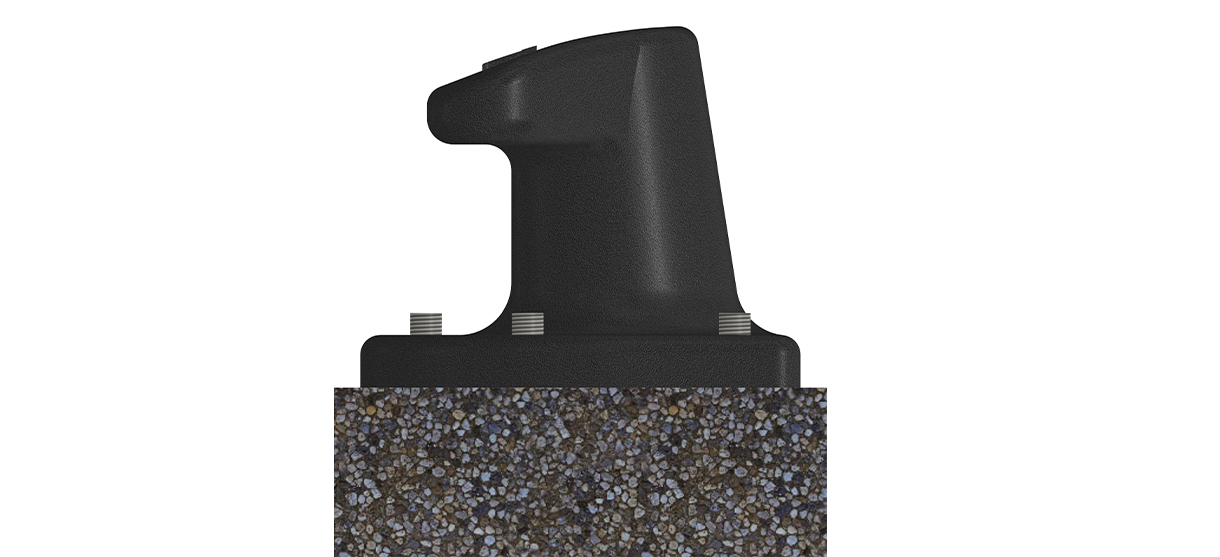
Surface Mount
Materials and Equipment Needed
|
T-head Mooring Bollard |
Provided by Reliance Foundry |
|
Anchors |
Provided by Reliance Foundry |
|
Anchor Bolt Template |
Provided by Reliance Foundry |
|
Washers and Nuts |
Provided by Reliance Foundry |
|
Wrench |
For M24 Hex Nut |
|
Hammer-drill |
|
|
Diamond Core Drill Bit |
For 30 mm diameter hole x 432 mm [17"] deep |
|
Drill Bit |
For roughing up inside of hole |
|
Steel Brush |
For 30mm diameter hole |
|
Compressed water and oil-free air |
For cleaning holes of debris |
|
Epoxy or Resin |
High strength as determined by site engineer |
|
Grout |
Non-shrink grout with a minimum strength of 60 MPa |
|
Shims |
|
|
Boundary Forms |
For grouting |
|
General PPE |
As per site requirements |
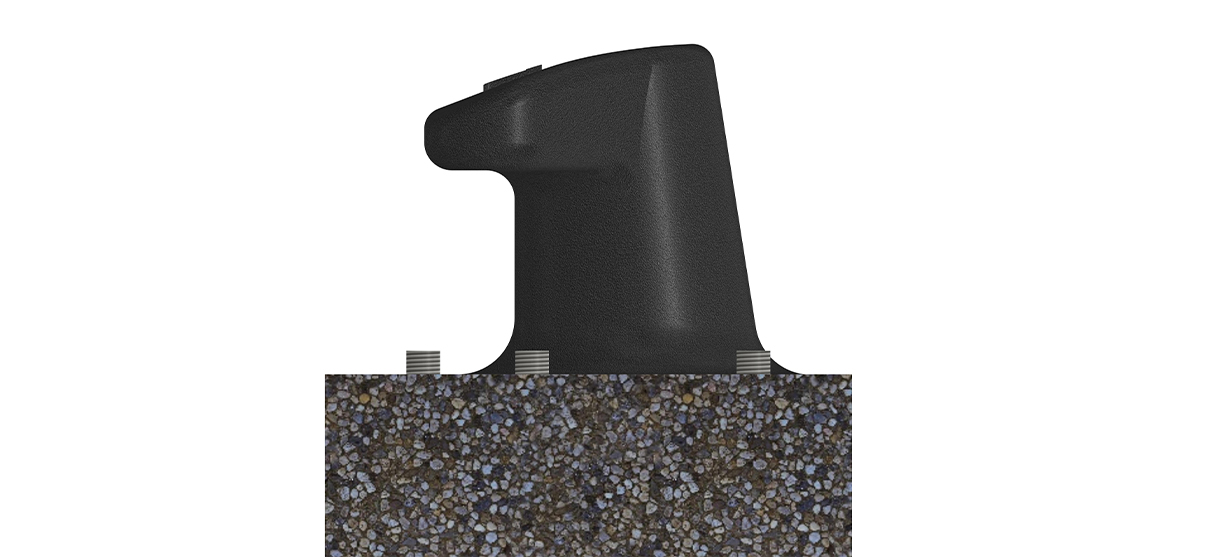
Recess Mount
NOTE
- Reliance Foundry Co. Ltd. is not responsible for installation and cannot offer guidance on specialized applications. Please refer to the product warranty for specifics.
Before installation
Preparation for epoxy / resin installation
Epoxy/resin is used to bond the anchors to existing concrete. If existing concrete is not being used, follow applicable instructions in the cast-in installation instructions to pour appropriate concrete pad. Allow to cure completely before proceeding.Drill holes
Clean the area of all debris. Use anchor template to mark positions of holes. Use a hammer drill to drill holes 30 mm [1.18"] in diameter and 432 mm [17"] deep.- Use a continuous flow of water to reduce heat generation between drill bit and concrete.
- Slowly drill hole to required depth.
Inject epoxy / resin
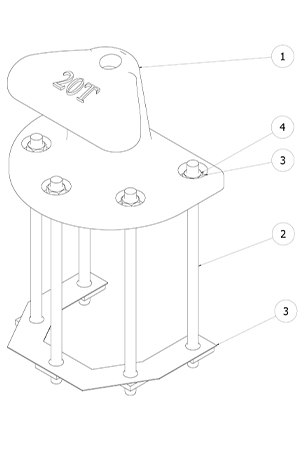
Follow epoxy or resin manufacturer’s instructions for injecting into the bore holes. Fill bore holes up to 2/3 full. Clean each anchor and dry completely. Insert into each core while twisting slowly. Set the anchor to the appropriate embedment depth and leave for the necessary working time, according to the manufacturer’s guidelines. After install, fill the annular gap with epoxy/resin. Use an anchor template to stop movement of anchors after installation. Leave anchors to cure according to manufacturer’s guidelines. Do not touch anchors during curing time. Cover anchors with a suitable cap to avoid damage. Ensure all anchors are straight and level and at the appropriate protrusion length for the bollard installation.Grout and place the bollard
Roughen the surface of the concrete and remove all debris from the surface. Clean the base of the bollard of all grease, dirt, loose rust and scale. Align the bollard on the anchors and shim to leave a gap between the base and the concrete surface.- Use either removable shims, or corrosion-free shims if non-removable.
Torquing to anchors
Once grout has cured, place provided washers and nuts and torque to 240 N-m.Inspect
Inspect the installation From a distance, examine the plane of view. Ensure the bollard is plumb. Check the bollard for any signs of surface damage Abrasions should be covered as soon as possible to prevent rust and ensure the proper life of the bollard. For damage repair or other servicing needs, please contact Reliance Foundry’s sales department.Care and maintenance
Reliance Foundry manufactures its products to the highest design standards to ensure their durability. Reliance Foundry’s bollards are finished with long-lasting powder coating. In most North American environments, routine inspections and cleaning will ensure that bollards retain their aesthetic appeal. Proper care and maintenance are required to maintain the finish and ensure a full service life.