Installing Pipe Bollards in Existing Concrete
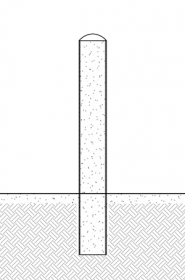
Steel pipe security posts can be installed into existing concrete as a safety and traffic guidance device. Decorative post covers can also be set over the pipe bollards after installation to give them aesthetic enhancement.
While this installation method will offer some impact resistance, specific requirements for resistance should be addressed by an engineer and/or an engineered product specifically designed to withstand measurable impact.
PARTS LIST
|
# |
PART |
QTY |
|---|---|---|
|
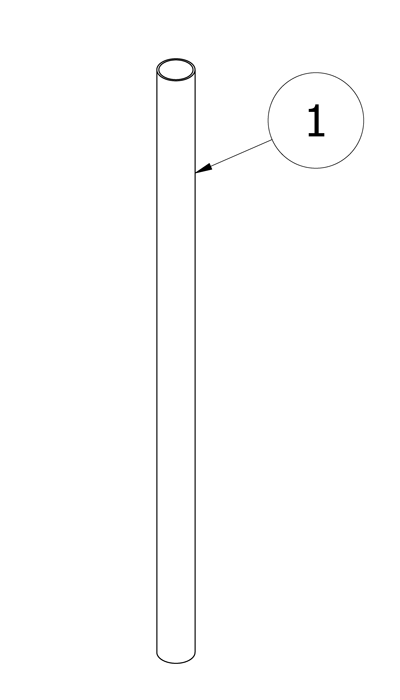
1 |
Steel Pipe Bollard |
1 |
INSTALLATION EQUIPMENT
|
Core Drilling Rig |
Vacuum |
|
Post Hole Digger |
Broom/Pressure washer |
|
Small Drill (Optional) |
Shovel |
|
Measuring Tape |
Chalk/Marker |
|
Level |
Shovel |
NOTE
- To protect the finish, keep bollards in original packaging until the exact moment of installation.
- Handle with care to avoid scratching or damaging bollard surfaces as abrasions will lead to rust.
Before installation
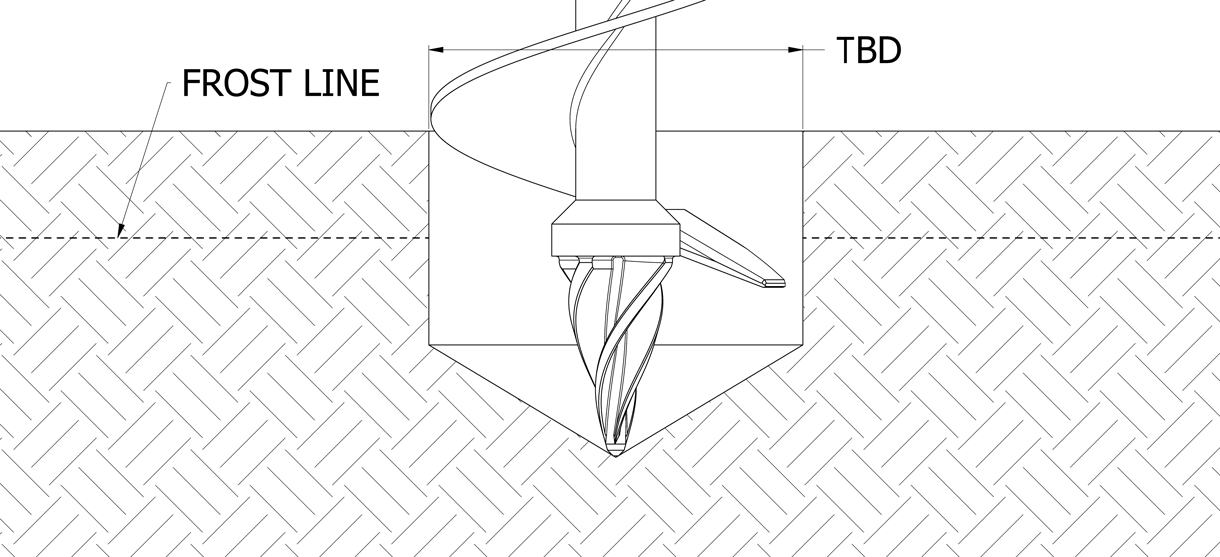
Determine the recommended digging depth below frost line
Please consult your local Building Code Department to determine the recommended digging depth below the frost line in your area. You will need to dig at this depth.
Check for hazards
Always check for hazards such as water pipes, gas lines, and underground wiring before digging.
If you cannot find the required information, you will need to exercise due diligence to determine a safe digging depth. For example, use an x-ray machine.
Please be aware that you may need a permit to dig to certain depths or in certain locations.
Clean the surface
Dirt and debris can affect the line of sight and disrupt placement of the pipe bollards.
Use a broom or pressure washer to clean the concrete surface prior to pipe bollard installation.
Study the site plans
Site plans are generally created by the architect of the project.
Refer to site plans to locate and mark the precise center point of each pipe bollard.
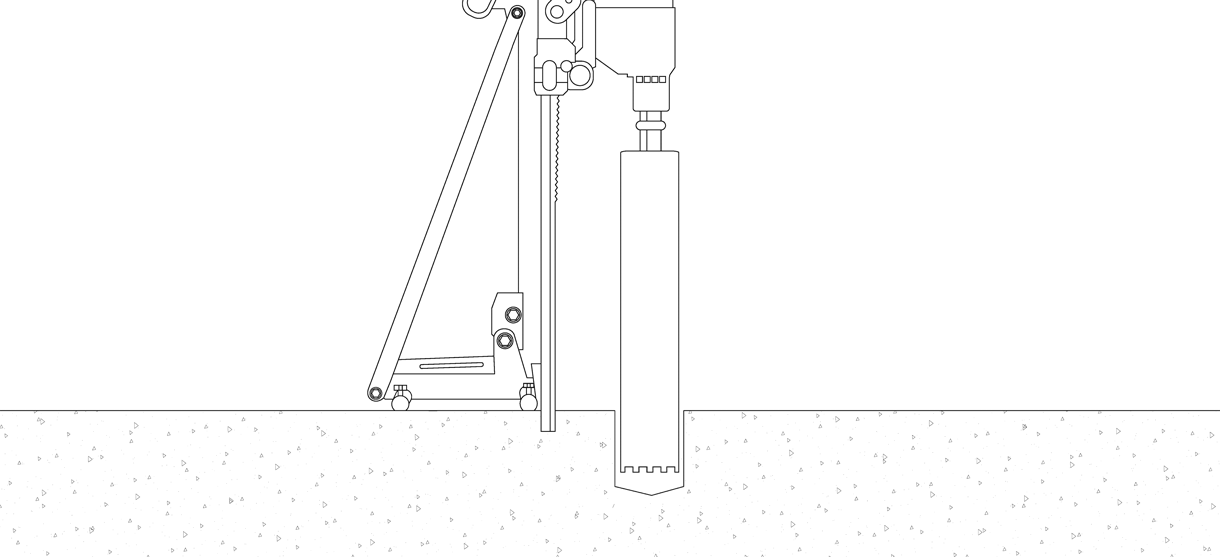
Remove concrete
Center a core drill over the mark
Use a core drill to remove the concrete.
The diameter of the hole should extend a minimum of 2″ from all points of the pipe bollard base.
Use a vacuum to remove any standing water or debris.
Dig the hole
After the concrete layer is removed, use an auger or post hole digger to dig the hole.
Be sure to dig to the recommended digging depth below the frost line in your area.
Mix and pour the concrete
Ensure that the proper ratio of water and concrete mix is used.
The concrete should have a similar texture to moldable clay.
Fill the hole to the top with concrete until it is level with the surface grade.
Set the pipe bollard
Place the pipe bollard near the site
Keep the pipe bollard in its protective packaging.
When ready to install, remove the pipe bollard’s protective packaging.
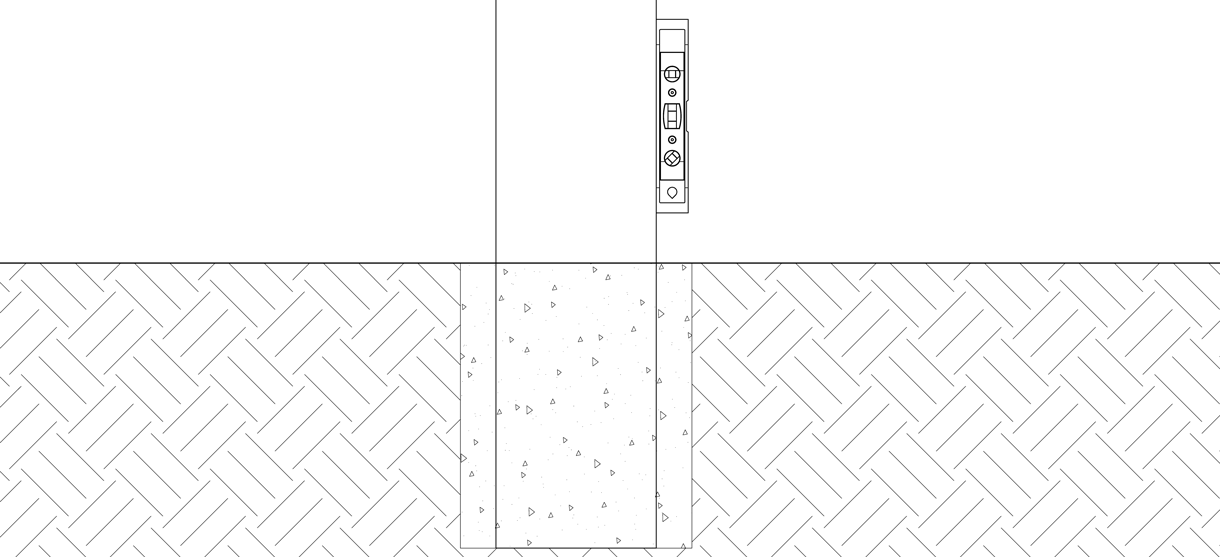
Set the pipe bollard over the hole and into the concrete while turning and pushing down. Continue until the pipe bollard reaches the bottom of the hole.
Note: Pipe bollards are heavy—to prevent accidents and injuries, ensure that the proper resources are available to set into place.
Hold a level against the side of the pipe bollard and ensure that it remains plumb.
Note: Once the concrete has cured, there will be no way to make any adjustments.
Patch the surface around the pipe bollard to make it smooth with the existing surface.
Fill the pipe bollard
Fill the pipe bollard with concrete
Using a shovel, fill the entire length of the pipe bollard with concrete.
Finish the pipe bollard
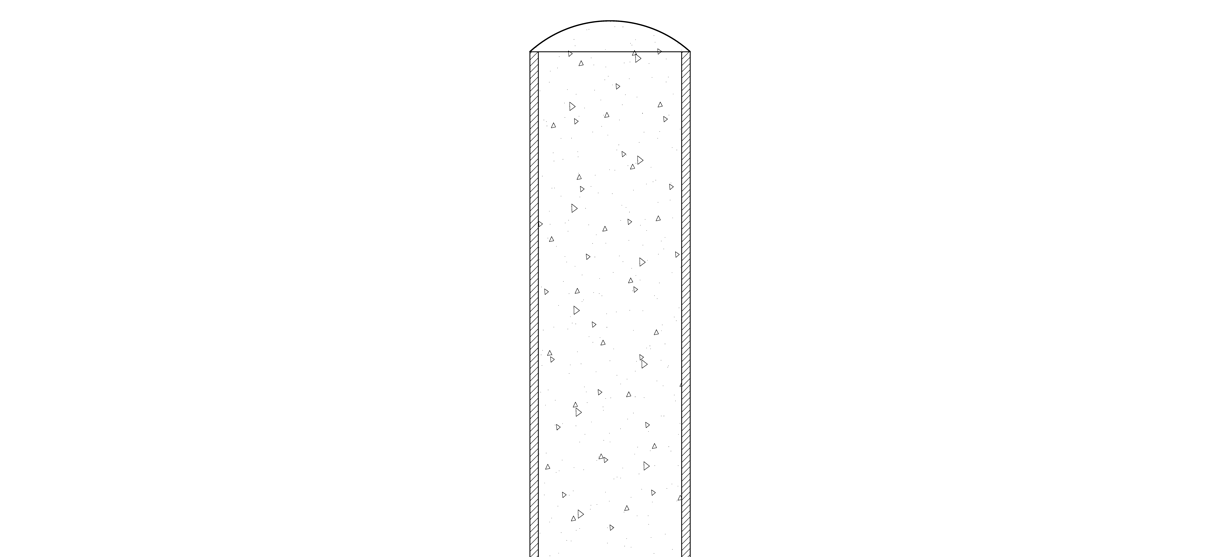
Debris, dust, and water can accumulate on a pipe bollard with a flat top. It is recommended that pipe bollards are finished with a domed top—either with concrete, bollard cap, or bollard cover.
Domed top with concrete
Create a mound at the top of the pipe bollard with concrete and tap with hands into a dome shape.
Note: With this method it may not be possible to add a bollard cap, or some models of bollard covers, after the concrete has cured.
Domed top using a bollard cap
Create a flat surface at the top of the pipe bollard. A bollard cap can be installed into the concrete while it is still wet. This provides an even, uniform dome surface finish.
Domed top using a bollard cover
Create a flat surface at the top of the pipe bollard. Select a mounting method for the bollard cover and refer to the appropriate installation method for specific directions.
Clean the pipe bollard
Clean the surface of the pipe bollard
Use a cloth to clean before the concrete cures.
Allow the concrete to cure
A minimum of 2–3 days should be given for concrete to cure before beginning construction projects on new concrete surfaces.
Note: Moisture in the environment and cool temperatures can significantly slow the process.
Inspect
Inspect the installation
From a distance, examine the plane of view.
Ensure the bollard is plumb.
Check the bollard for any signs of surface damage
Abrasions should be covered as soon as possible to prevent rust and ensure the proper life of the bollard. For damage repair or other servicing needs, please contact Reliance Foundry’s sales department.
Care and maintenance
Reliance Foundry manufactures its products to the highest design standards to ensure their durability. Reliance Foundry’s bollards are finished with long-lasting powder coating. In most North American environments, routine inspections and cleaning will ensure that bollards retain their aesthetic appeal. Proper care and maintenance are required to maintain the finish and ensure a full service life.